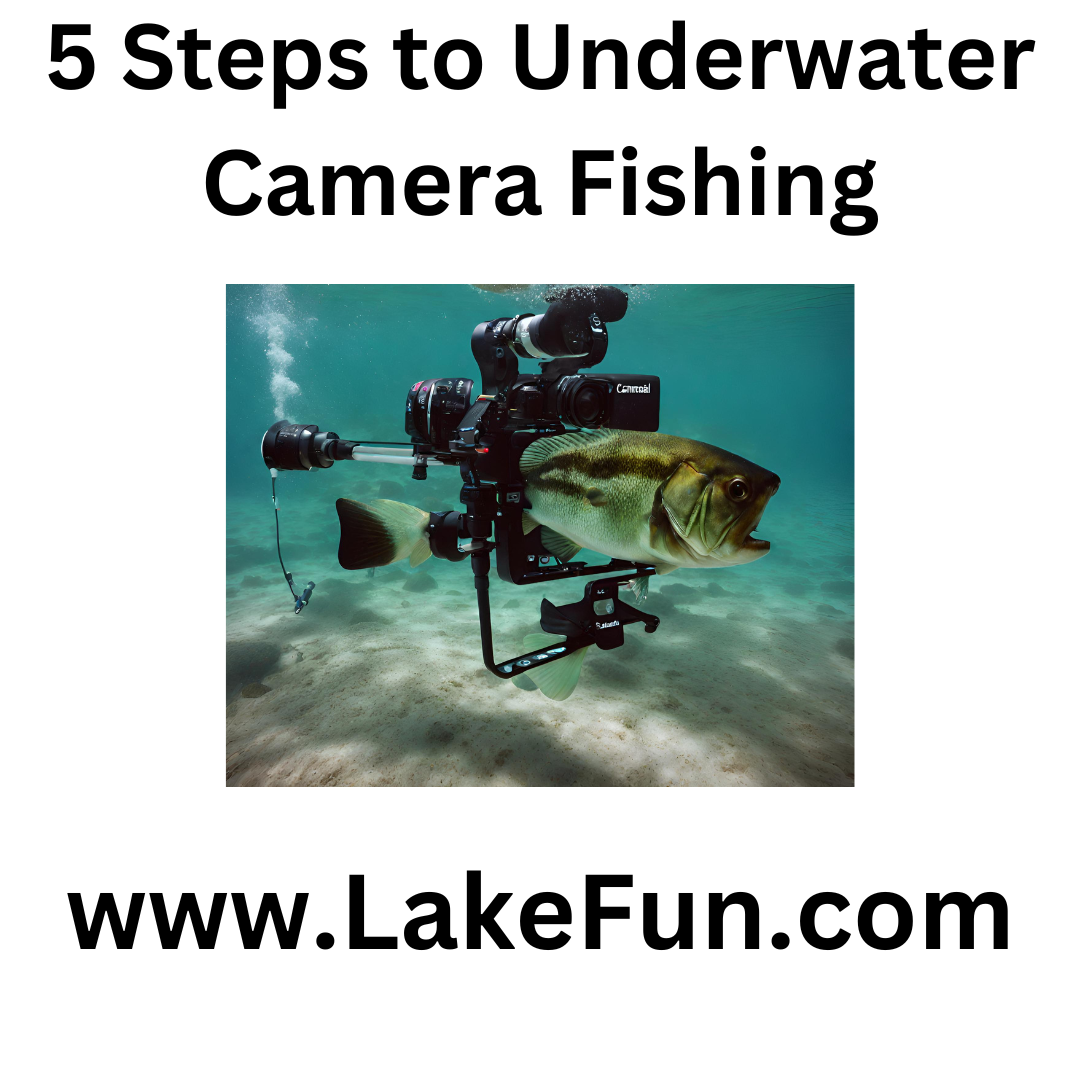
Underwater camera fishing, also known as aqua-viewing or video fishing, is a technique that uses a waterproof camera to observe fish and underwater environments. Here’s how to get started with camera fishing:
Equipment:
- Underwater Camera: There are various underwater cameras available, including action cameras, dedicated aqua-viewing cameras, and even some fishing-specific camera systems. Consider factors like image quality, cable length, durability, and desired features (recording, night vision) when choosing a camera.
- Mounting System: You’ll need a way to secure the camera underwater. Some common options include weighted cages, sinkers with camera mounts, or even attaching the camera directly to your fishing line (weighted for depth control).
- Cable (optional): Depending on your camera and setup, you might need a cable to connect it to a monitor or recording device on the boat.
- Monitor or Recording Device (optional): A monitor allows you to see what the camera sees in real-time, while a recording device lets you capture footage for later viewing.
- Rod, Reel, and Bait (optional): If you plan to use the camera to help you fish, you’ll need your regular fishing gear.
The Process:
Setting Up the Camera: Attach the camera to your chosen mounting system and ensure it’s securely fastened. If using a cable, connect it to your monitor or recording device.
Deployment: Lower the camera into the water. If using it for fishing, position it strategically near potential fish habitats like structures, drop-offs, or weed beds. The optimal depth will vary depending on the body of water and the fish you’re targeting.
Observation and Analysis: Use the monitor (if applicable) to observe the underwater world. Look for signs of fish, such as movement, shadows, or changes in the environment. The camera can help you see fish that might be too shy or far away to notice from the surface.
Fishing with the Camera (optional): If using the camera to aid your fishing, use the information you gather to adjust your lure presentation, bait selection, or casting location. The camera can help you see if fish are actively feeding or how they’re reacting to your bait.
Retrieval: Carefully raise the camera system back to the surface.
Tips:
- Water Clarity: Camera fishing works best in clear water conditions. If the water is murky, you might not get very clear visuals.
- Lighting: For deeper deployments or low-light conditions, consider a camera with built-in lights or an external lighting system.
- Practice Makes Perfect: Experiment with different camera placements and depths to find what works best for your target fish species and lake conditions.
- Local Regulations: Check local fishing regulations regarding camera use in specific bodies of water. Some areas might have restrictions.
Safety:
- Boat Safety: If using the camera from a boat, ensure you follow safe boating practices, especially when deploying or retrieving the camera.
- Underwater Hazards: Be aware of potential underwater hazards like snags or strong currents that could damage your camera or cable.
Camera fishing can be a fun and informative way to learn more about the underwater world and improve your fishing success. With the proper equipment and a little practice, you can gain valuable insights into what’s happening beneath the surface.


